
Behind the Scenes: Mannequin Making
- Post Date: 11/21/2003
- Reading Time: 2 minute read
When needed, the Collections Management Section builds custom mannequins for artifacts. Based on a human model, the mannequin can be built from various materials. For our focus exhibit, Luxurious Layers: Kimonos of the Heian Court, Christa and John of the Collections staff made an ethafoam/polyfill mannequin to hold a royal male kimono.
-
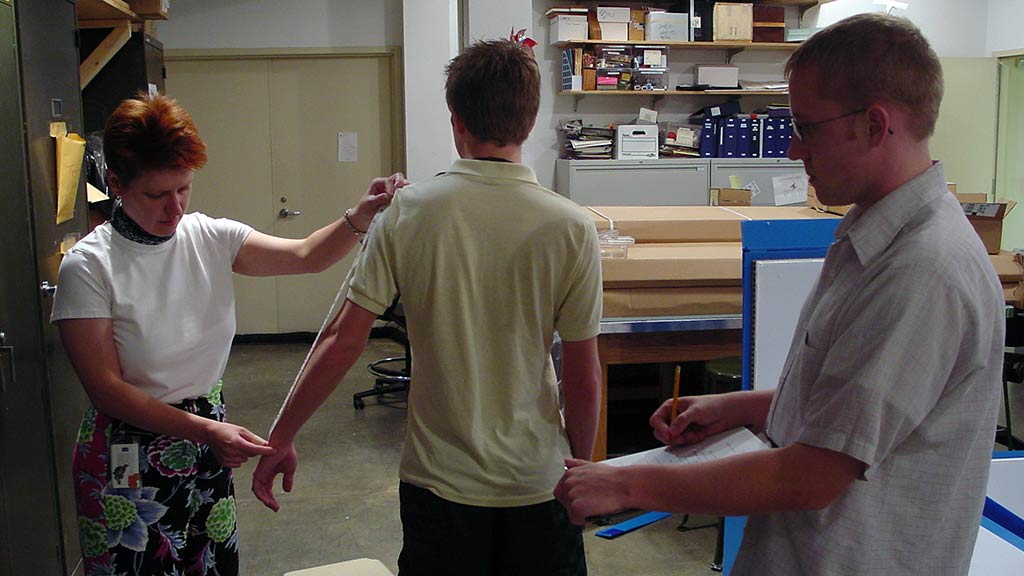 Phase 1 - Taking Measurements: Collections staff measure Jason, an Education Assistant, for dimensions to create an accurate mannequin.
-
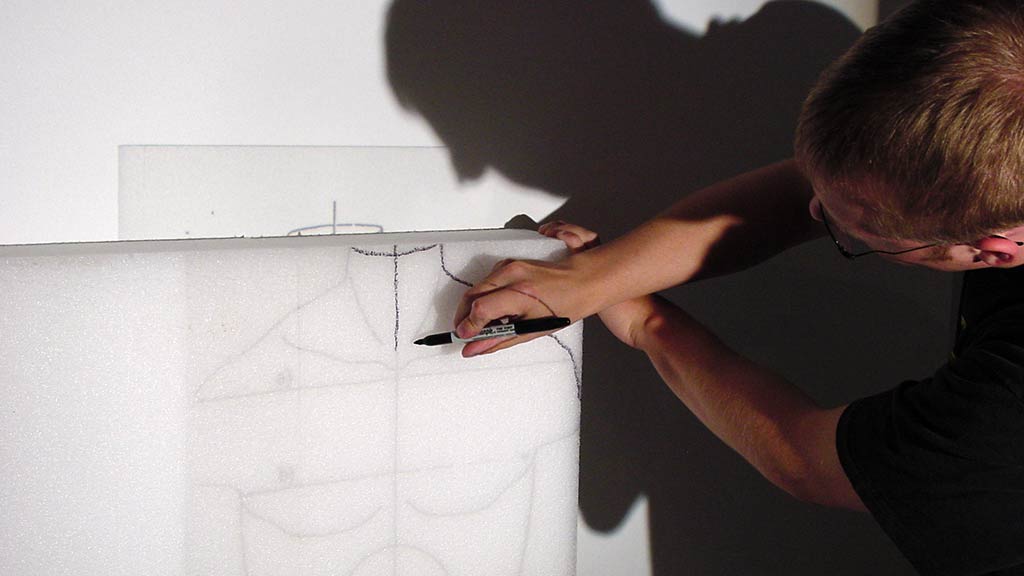 Phase 2 - Tracing the Shape: Using an overhead projector, John enlarges a male figure outline to Jason's dimensions and traces the outline onto ethafoam.
-
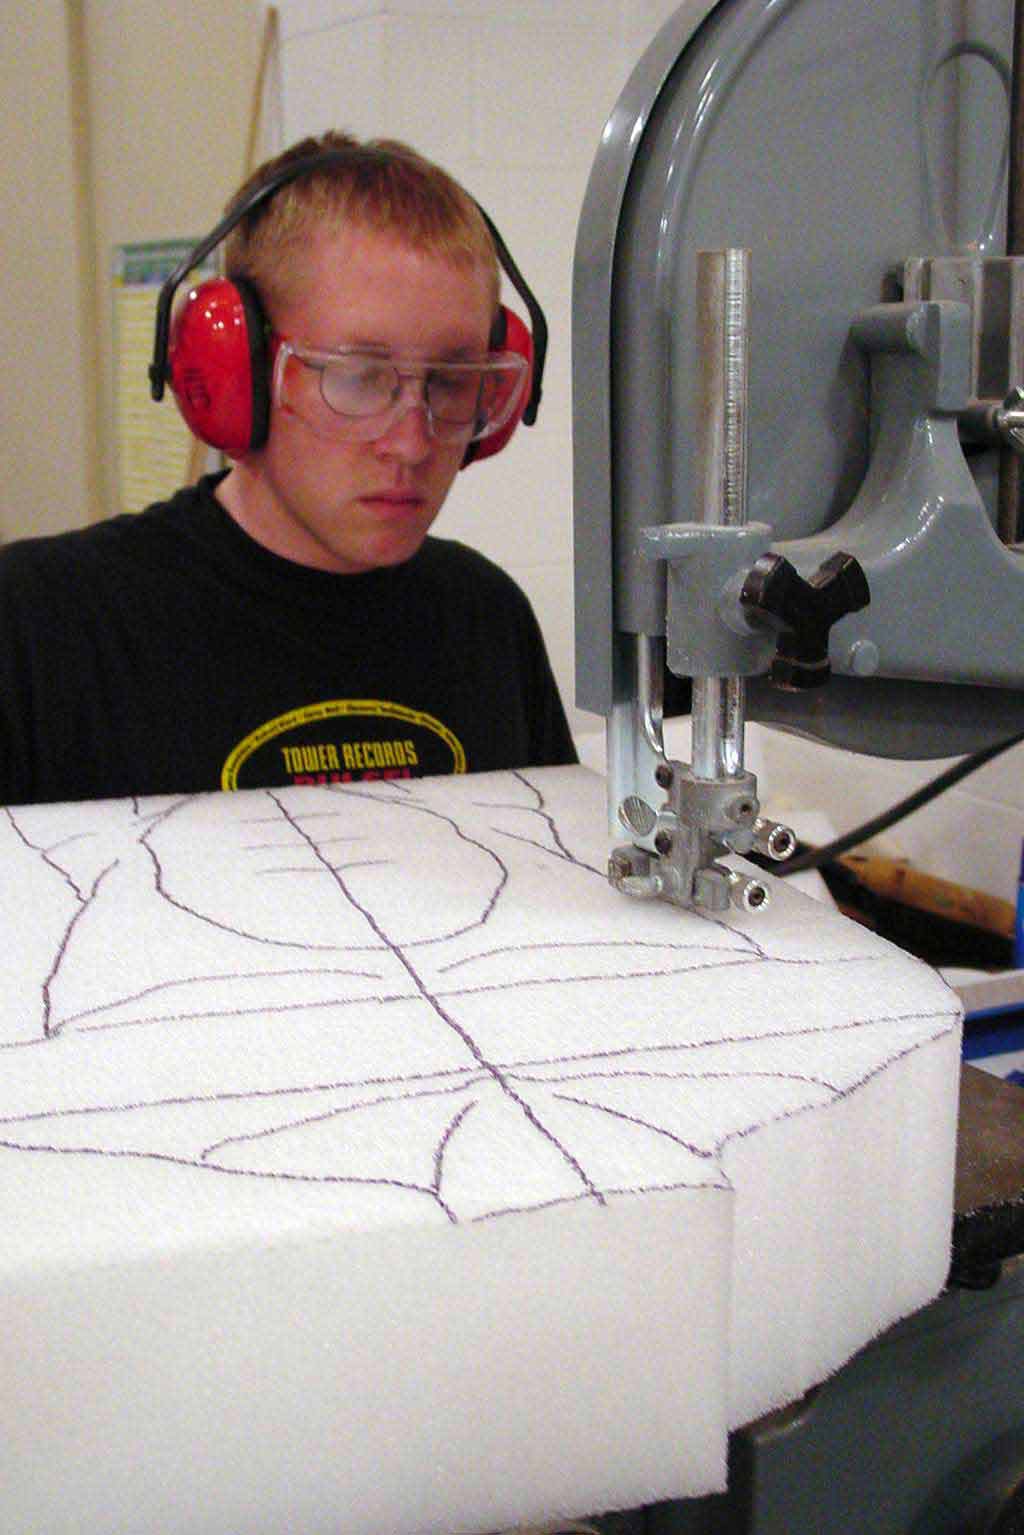 Phase 3 - Cutting it Out: Next, he cuts the body form out using the band saw.
 -
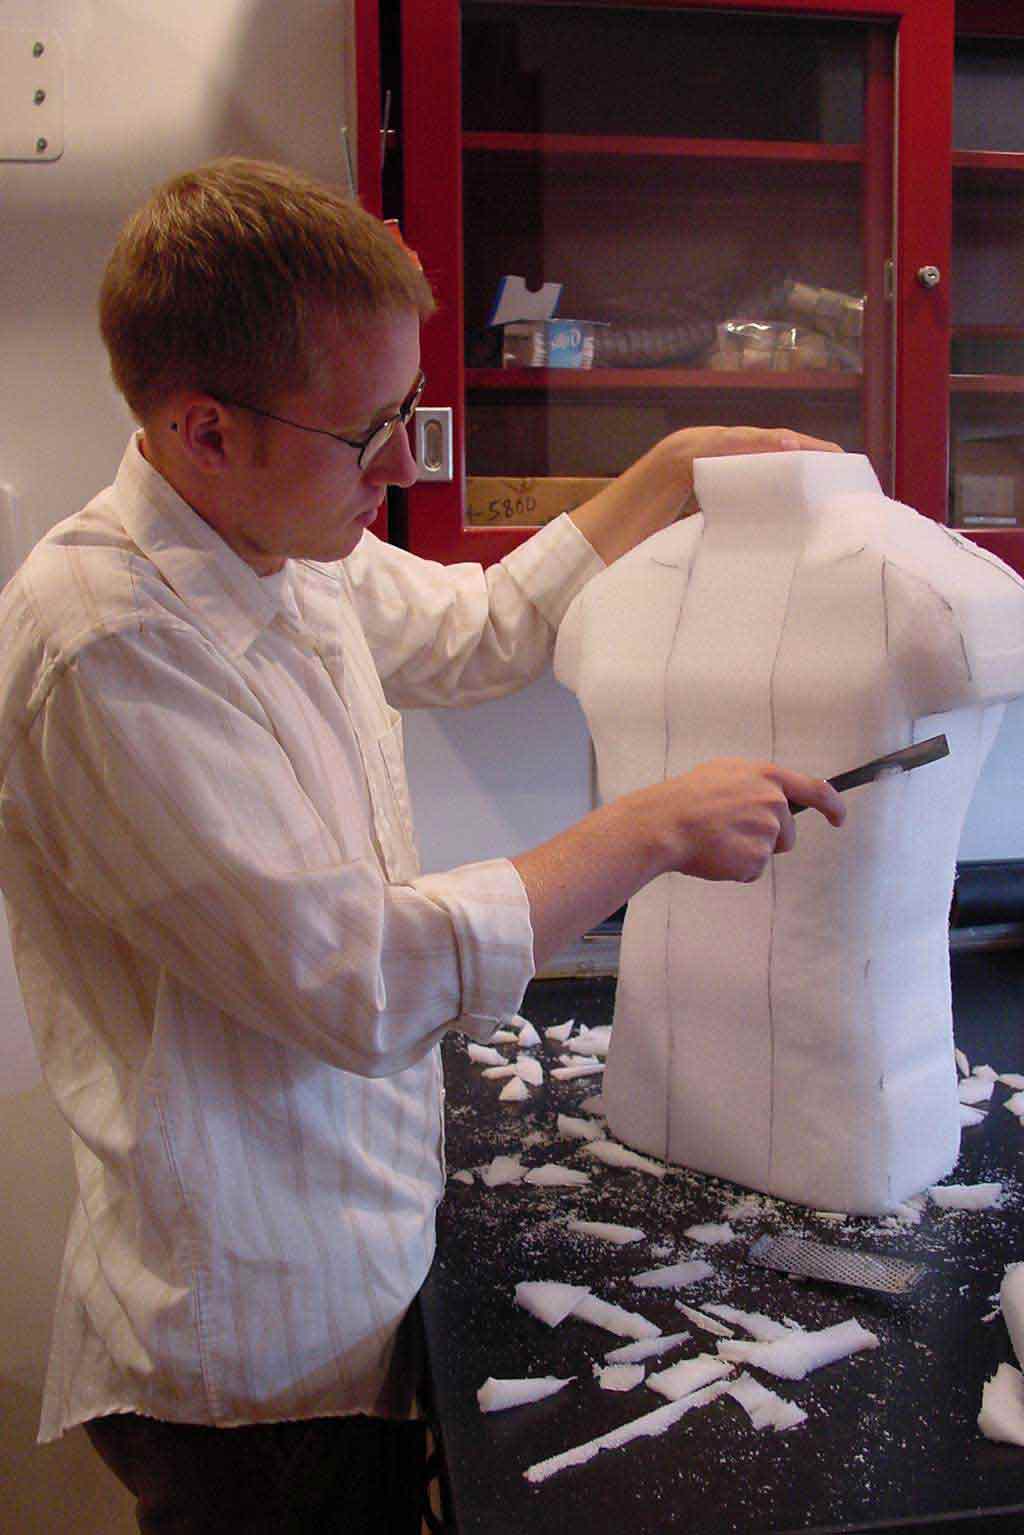 Phase 4 - Rounding out the Form: Once the form is assembled, John rounds the edges to achieve a more realistic look
-
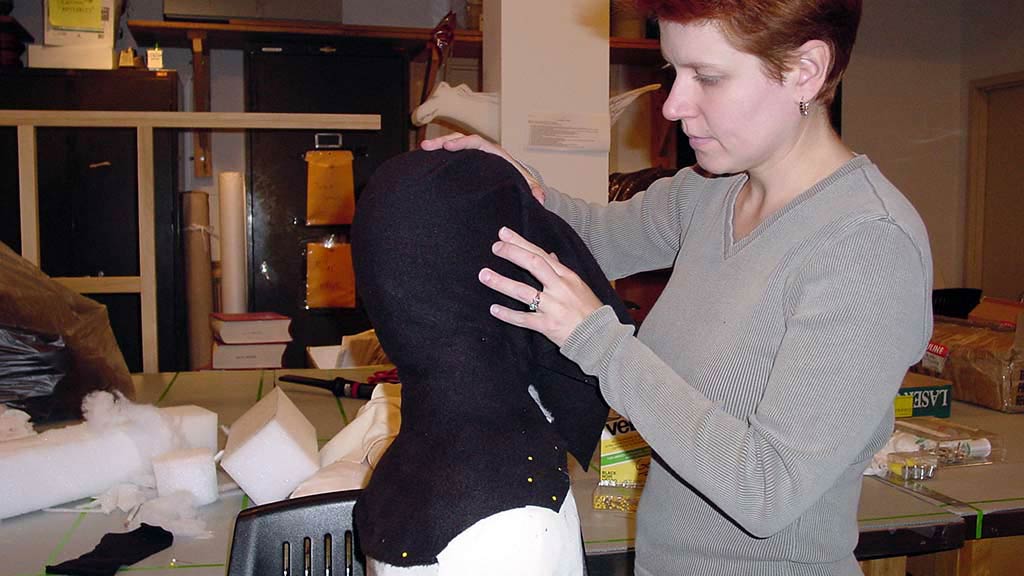 Phase 5 - Applying the Final Touches: When the mannequin is covered in polyfill and stockingnet, it is ready for the final touches. Christa covers the head with black fleece.
-
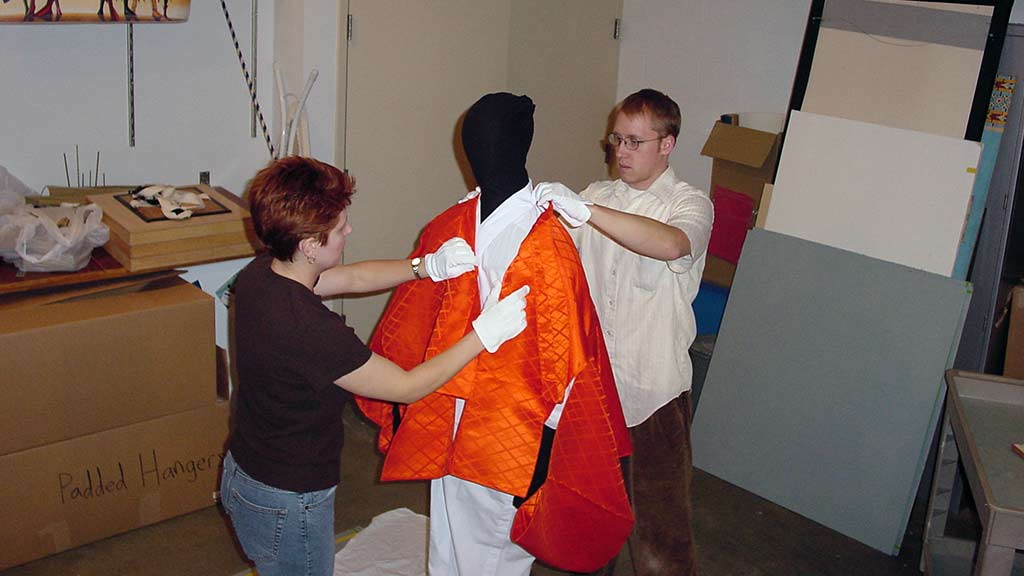 Phase 6 - Dressing the Mannequin: Christa and John put on the second layer of the male kimono.
-
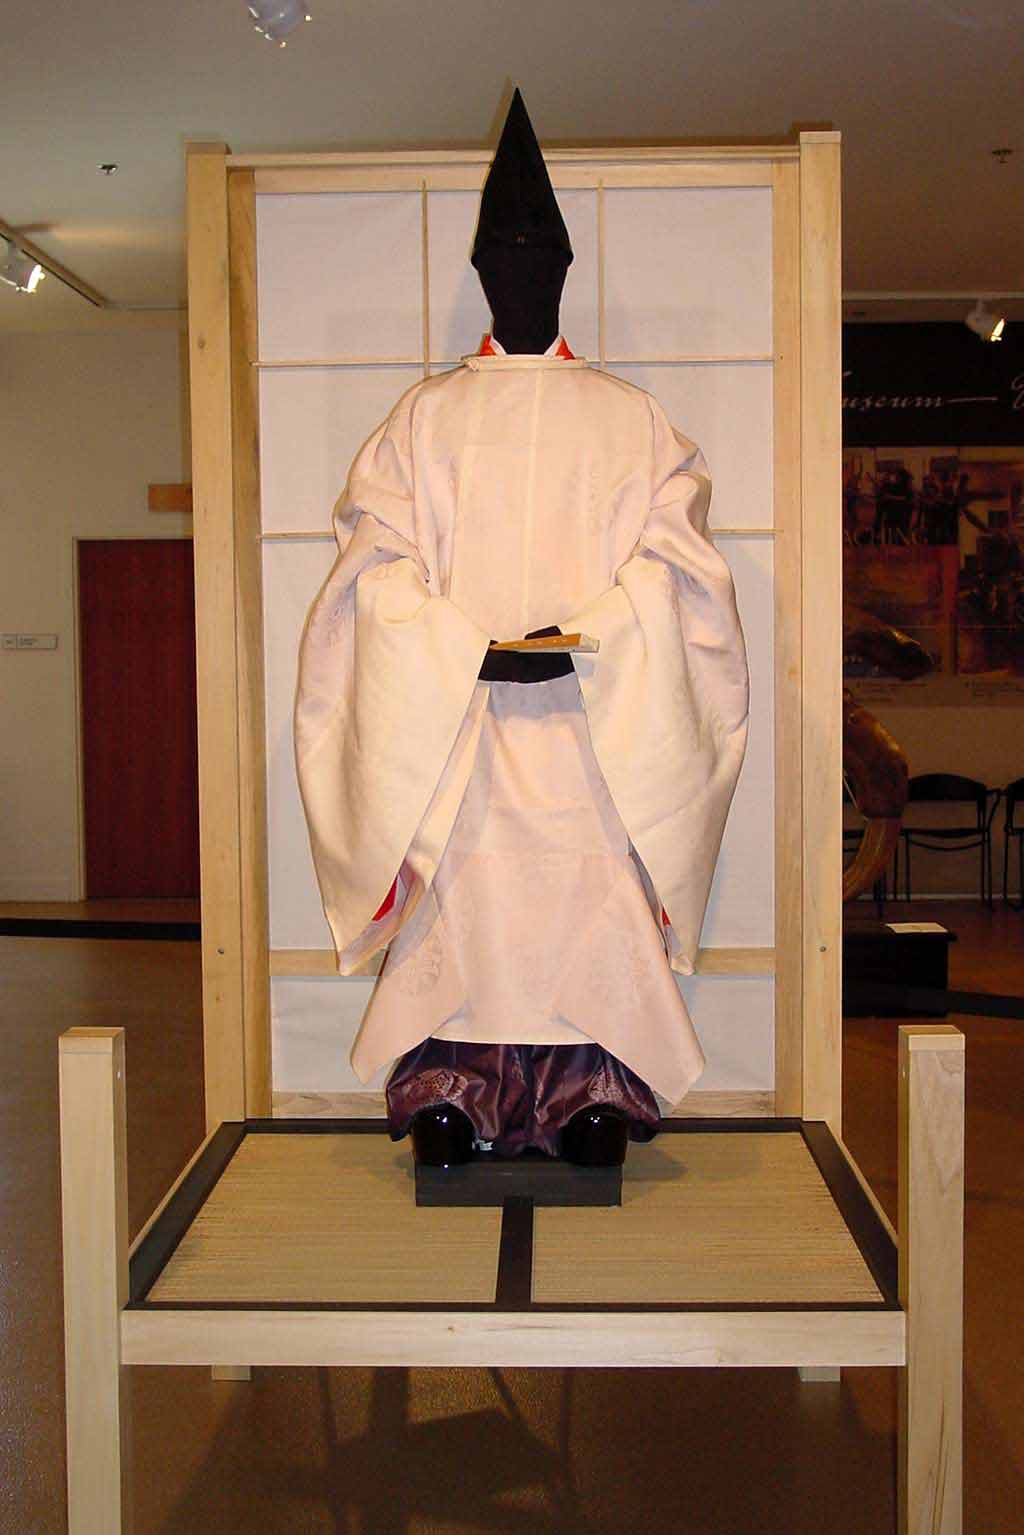 Phase 7 - The Final Product: The fully dressed male kimono mannequin is placed in its final display location
-
- Share:
- Subscribe to Newletter
- Giving
Related Resources
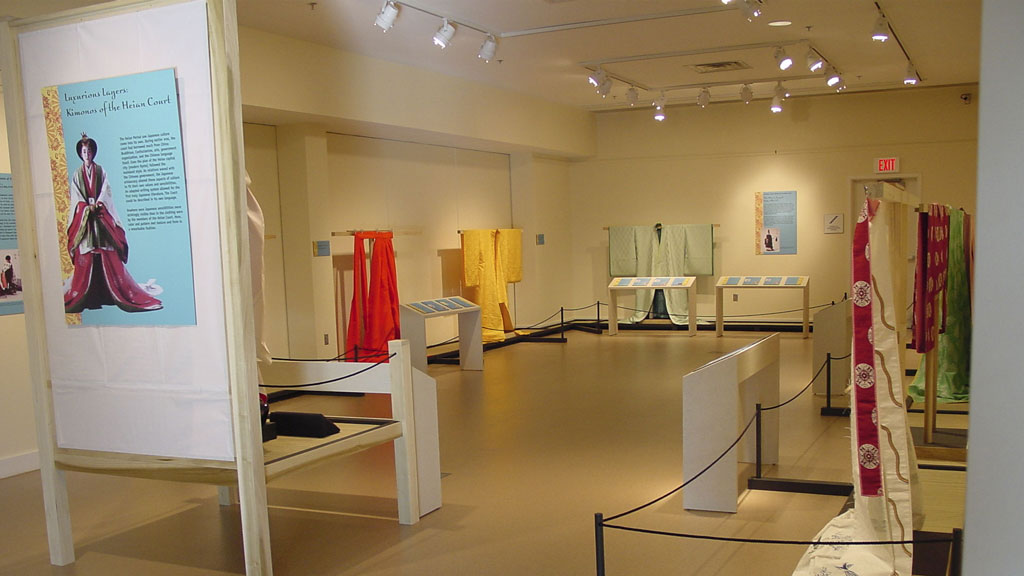
Luxurious Layers: Kimonos of the Heian Court
Temporary Exhibit